Applications & Solutions
OEM Hospital Kiosk Manufacturing: From Prototype to Mass Production
How a custom terminal project actually runs — requirement analysis, configuration confirmation, prototype sign-off, inspection gates and the decisions that determine whether a rollout stays on schedule.
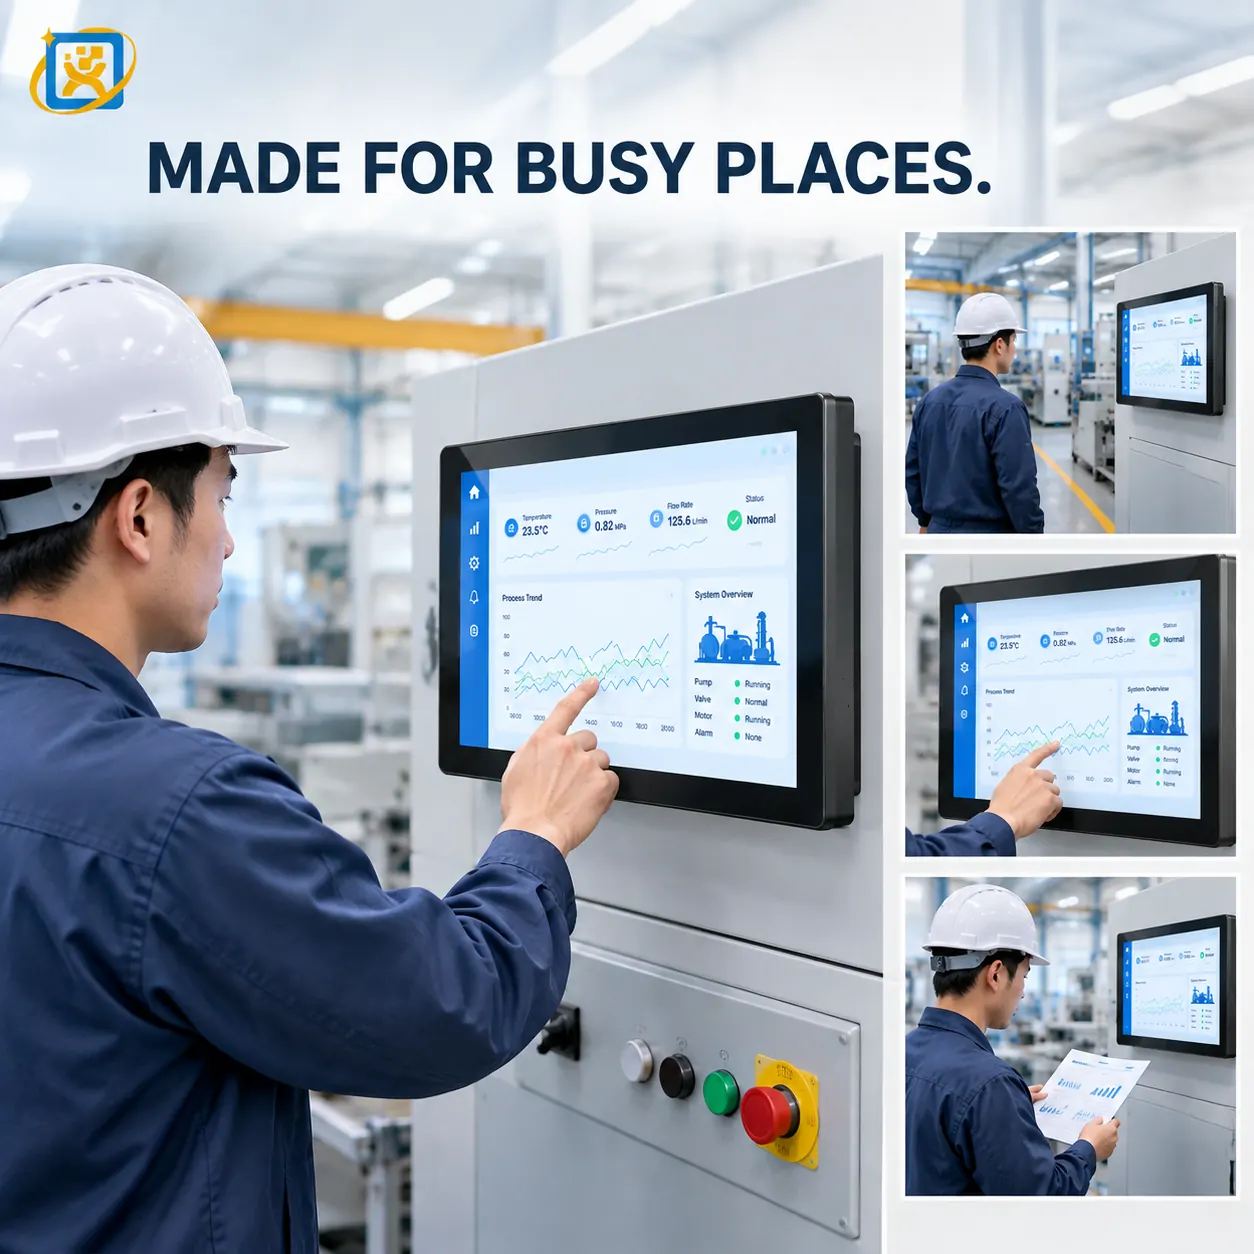
A custom terminal project has a predictable shape. The projects that go well are the ones where each stage produces a written output that the next stage builds on. The projects that go badly skip a stage and discover the omission during installation.
Stage 1: Requirement analysis
The input is whatever the buyer has: a drawing, a photo of an existing unit, a written description of the workflow, or a specification from an end client. The output is a shared understanding of what the terminal has to do.
The questions that matter at this stage are not about hardware:
- What is the application, and what does the user do at the terminal?
- Where will the unit stand, and what surrounds it?
- Which systems does it connect to, and who owns them?
- How many units, and over what period?
- Which market, and therefore which certification requirement?
Buyers sometimes arrive with a full hardware specification already written. It is worth spending twenty minutes on the workflow anyway — a specification written without the workflow in view regularly omits a peripheral or specifies the wrong screen size.
Stage 2: Solution design
The output is a proposed platform and configuration: enclosure, screen, computing, peripherals, interfaces, mounting and power.
At this stage two things are decided that are expensive to change later:
Whether an existing platform can be adapted or a new structure is required. Adapting an existing platform is faster and cheaper. A new structure means tooling, a longer schedule and a higher minimum quantity. The answer depends on how different the required shape is — a different front panel and a different colour is adaptation; a different internal architecture is not.
Which computing platform. This determines the interfaces available, the operating system support, the thermal design and the lifecycle. Getting it wrong here is the most expensive error in the project, because it affects everything downstream.
Stage 3: Configuration confirmation
This is the stage that separates projects that run smoothly from projects that generate change orders.
The output is a written configuration document fixing:
- Enclosure dimensions, structure, material, colour and finish
- Branding — logo type, position, backlighting
- Front-panel cut-outs and peripheral positions
- Interface layout and cable exit direction
- Service access direction and locking
- Computing platform, memory, storage and interfaces
- Operating system image, driver set and autostart behaviour
- Mounting method and hardware
- Packaging specification
Four details in that list cause the majority of late changes, and all four are cheap to decide on paper:
Cable exit direction. A floor-standing unit against a wall is cabled from the rear; a counter unit is cabled from below. Different housings.
Service access direction. A terminal with 200 mm of clearance behind it cannot be serviced from behind. This depends on the site, and it is knowable before production.
Cut-out positions. Peripheral reachability, glare from the screen and internal cable routing all follow from where the cut-outs sit.
Autostart behaviour. What runs at boot, in what order, and what happens when a peripheral does not enumerate. Specifying this at the factory removes commissioning work at every site.
Stage 4: Prototype
For any project involving a housing change, a prototype is produced and signed off before mass production is committed.
The prototype proves four things:
- Physical fit — the enclosure closes, the peripherals mount, the cable routes work.
- Peripheral function — every module enumerates and operates on the chosen platform.
- Software behaviour — the application runs, the autostart sequence works, the peripherals respond as the software expects.
- Ergonomics — the screen angle, the peripheral reach and the standing position are usable in practice.
Where the buyer’s software vendor needs to validate the platform, the prototype is the unit they validate on. Involving them at this stage rather than after production is the single most effective way to protect the schedule.
Stage 5: Mass production
Production runs against the confirmed configuration, with inspection at each stage rather than only at the end.
Incoming inspection. Components, panels and enclosures checked against specification on arrival.
In-process inspection. Assembly and wiring verified stage by stage — fastening and torque, cable routing, connector seating, module mounting.
Complete-machine functional inspection. Every unit runs a full function test against the agreed configuration: display and touch, printing, scanning, card reading, audio, network and serial interfaces, power behaviour.
Final inspection. Appearance, accessories, labelling, documentation and packaging confirmed before sealing. The final inspection report accompanies the shipment.
For project work, inspection is against the configuration the buyer signed off rather than against a generic standard. Where third-party pre-shipment inspection is required, it is accommodated at the agreed point in the schedule.
Stage 6: Delivery and staged rollout
For multi-site deployments, delivery is usually staged against the project schedule rather than shipped in one batch. This spreads the customs and warehousing load and matches delivery to the installation team’s capacity.
Two things make staged delivery work:
A held configuration. The build for batch three must match batch one. This requires the manufacturer to keep the configuration on file rather than relying on the original drawings being re-interpreted.
A spares holding. Printers and scanners are the components most likely to need replacement. Holding one of each locally at the start of a rollout removes the lead time from the most common repair.
Stage 7: Support after delivery
The terminal is in service for years. Support arrangements should be settled at the order stage rather than when the first fault occurs:
- Who is the technical contact on each side?
- How is a fault reported and diagnosed?
- Which components are field-replaceable, and by whom?
- What is the spares arrangement?
- What are the return-to-factory terms?
For overseas deployments, remote diagnosis resolves most faults. Field-replaceable modules — printer, scanner, card reader, power supply — cover most of the remainder. Return to factory handles the rest.
What determines whether a project stays on schedule
In order of impact:
- Involving the software vendor before production, not after.
- Fixing the four configuration details on paper — cable exit, service access, cut-outs, autostart.
- Signing off a prototype rather than approving a drawing alone.
- Confirming certification requirements at the quotation stage, so that a documentation gap does not become a delivery gap.
- Agreeing a spares holding at the start of the rollout, not after the first failure.
None of those five are technical. All of them are procedural. That is the nature of custom manufacturing — the engineering is the easy part.
Written by the YUEQIANXIANG Engineering Team. This article describes general practice in self-service terminal specification and integration. Specific requirements vary by market, system and site — confirm the details against your project before committing to a configuration.
Request a quotation
Tell us the application, the quantity and the systems involved. If your question is about a configuration described in this article, mention it — it speeds up the reply.